

Please note: The content of this tutorial is copyright protected and is the property of Hungry Hook Primitives and is designed for personal use and may not be reproduced without express permission from the author.
This lesson will be on how to hook the perfect star. Now before I tell you how to hook a star with perfect points I want to remind you that it is never a necessity to have perfect stars guys...Look at the old vintage rugs and you will see lots of rugs with rounded stars, mishapen stars, uneven stars and so on, so dont get too hung up on doing "The Perfect Star" in every rug. Sometimes though, when the star is a key feature, you do want nice crisp lines and points. There are lots of ways to do it out there, but this is the way I like best. I outline the star first with my background color and then fill it in....Here's how...
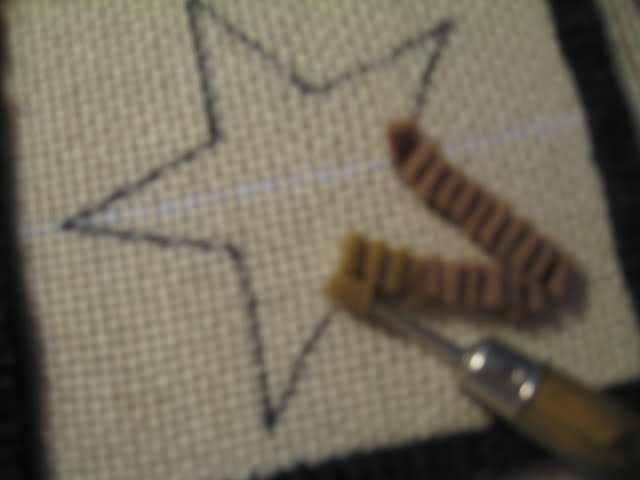
If you are following along with the rug we are making, "My Sampler Square", you should have outlined your box with your star with your trim color like this..
 Now you will want to use a strip in your background color, NOT the color of your star. Pull it up in the corner of the star like this...
 I know you cant tell that easily, but I am on the OUTSIDE line of the star. Go from the inside corner to the point...when you get to the point, use your finger on the UNDERSIDE of the piece to hold that last loop in place...now you are going to change the direction of your hooking like this
 Now you can see the black line and how close the hooking is to it. So now that you held that loop with your underside hand and changed the direction of your hooking, just continue to the next corner and do the same thing like this...

 Do you notice where I added a new strip ? I try not to add a strip on an outside point, so I may take a loop or two out to accomodate that.Now just go all the way around your star, adding strips as needed and it will look like this...
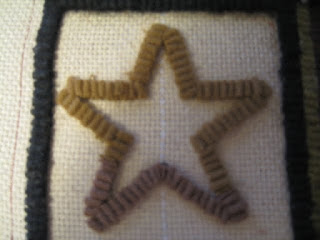 Notice how perfect and sharp the point are on the INSIDE of the star that hasn't been hooked yet ? You have succesfully given yourself an easy perfect point star to simply fill in with your star color.

 I always start in the point and put one loop in sideways and then make another loop in the very next hole down going the other direction (even with the outer row). I go down each side and then fill in the center of each point, stopping at the bottom of each point.
 Then I fill in the center of the star and voila...perfect points. Now you can continue with your background strips and fill in following the direction of the stars points until its all filled in.
Once you have done all the stars you are done hooking your project ...You do have a few more steps to finish it, but for now give yourself a pat on the back ...you hooked a rug !!!
You will notice this mat is different than the one I did in Americana colors or the one I did in the rusts/beige/blacks. This was one I did with all LEFT OVER pieces of wool...little strips left over from other projects.I think it turned out pretty nice...

Ok...now the part most of us rug hookers dont like...finishing it !!! Today we are just going to get it ready for "finishing" which is called "blocking" and for this you need a damp cloth (I use a tea towel) and a hot iron. Be sure to check your mat and see if your hoops are all fairly even (nothing really out of line) and remove any stray pieces of thread. Place the damp cloth over the back side of the hooked piece and set your iron on the outside edge...DO NOT IRON, just lay your iron on each section and pick it up and set it on the next section until you have gone over the entire piece. Then turn the piece over and do the same thing on the front side. This will help your rug to lie flat and it also sort of "perks up" or "wakes up" your wool. Now set your rug someplace where the kids or pets (or hubby) wont move it. Let it lie flat until dry...I usually let mine dry over night.
The next lesson will be on the different ways to finish your rug...There are MANY options out there for this, but I am going to show you the ways I like best. But I will tell you about the other options too and you can decide how you want to finish your rug.


