

Please note: The content of this tutorial is copyright protected and is the property of Hungry Hook Primitives and is designed for personal use and may not be reproduced without express permission from the author.
Well, now that you know all the basics of rug hooking from reading my other tutorials,this next lesson lets us delve into how you can save some serious money by using recycled wool and the lesson will be on deconstructing clothing for maximum usage. With the economy being the way it is, I imagine maybe even a few of you rug hooking "purist's" would like to save a little cash where you can and dont worry,nobody has to know you didn't purchase brand new wool at $30 per yard ! It will be our little secret.
Isn't it odd that in our politically correct world it's usually the recyclers who are always praised, yet in many rug hooking circles using "old clothing" is frowned upon all too often . I think those folks could be missing out on quite a bit of fun though and using cast off clothing is much closer to the original rugs crafted by our ancestors.
Isn't it odd that in our politically correct world it's usually the recyclers who are always praised, yet in many rug hooking circles using "old clothing" is frowned upon all too often . I think those folks could be missing out on quite a bit of fun though and using cast off clothing is much closer to the original rugs crafted by our ancestors.
First lets remember that rug hooking was most popular during the founding of our country and during the depression/war years. People were using up bits and pieces of cast off clothing to make beautiful functional items for their homes like the wool lap rugs made for cold windy days riding in an open carriage or sleigh or the obvious rugs placed in various places around the home...so dont be afraid to use "salvaged wool" in your next rug.
Ok... lets get down to the nitty gritty in this lesson. Now as I have said before, thrift stores, estate sales and church rummage sales are all excellent places to find good quality wool clothing that you can take apart and use in your rugs. I have amassed quite a large stash of simply beautiful wool and every bit of it has come from discarded clothing or blankets.
I know in lesson one we talked about how to care for your wool once you get it home and the steps necessary to wash it nad make it ready for use, but today we are going to discuss how to take apart clothing to maximize the usage. If you are already a sewer, then you may find additional uses for some of the pieces I discard like all those skirt linings. I have seen that lots of people save the linings and reuse them inside purses and totes...not me though...Guess I am just not that "green". I only have so much room and I cant keep everything (If you want my linings, I will gladly send them to you, otherwise, they're going bye-bye) !
First lets look at your basic skirt. I generally cut the entire waist band off, cutting right through the zipper. I do save all the buttons... you never know when you will need those.


Next, do the same thing on the other seam and you will have 2 generous pieces of wool. (This skirt is from Pendelton and I now have well over a yard of wool...can you say SAVINGS !!!) It's ready for the washing machine to do it's magic.

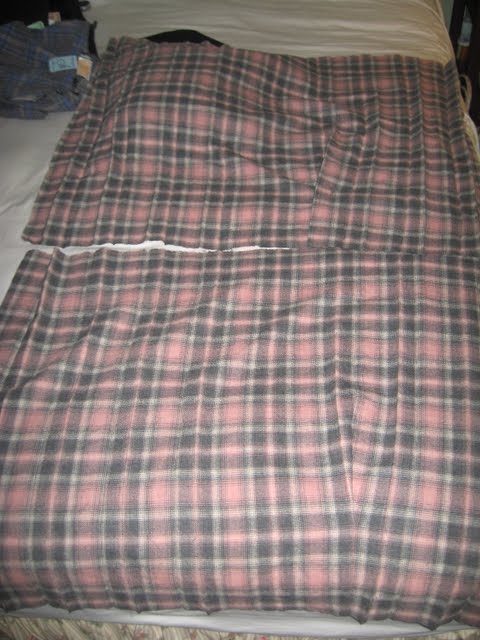
If you are lucky enough to find a pleated skirt...well do the happy dance because they are a bonanza !!! It is a bit more laborious to use a seam ripper to un-pleat it, but oh, you get sooooo much wool. Here's just half of one pleated Pendelton skirt (I have dyed this wool in every color imaginable and it is simply gorgeous to work with)

I start by snipping the bottom seam on either the side or the back depending on where the fabric is sewn together...then tear to the top like this ..


On the rare occassion I find a pair of wool slacks that I feel is a good hooking weight, I simply remove the waist band, snip up the seems and tear into the 4 logical pieces. Sorry, but I dont have a pair to show you (I promise to ammend this the next time I find a pair). Then, and this is crucial when working with pants...always start ripping from the bottom at the hem...This will give you the straight of grain pieces you need. Trying to snip and tear from the top is just guess work because you wont know where the straight line will end.
Oh...want to see how that frist skirt hooked up ? Check out these pumpkins...

Ok...there you have the basics of garment deconstruction. The next few lessons will be on over-dyeing your wool to get just the right colors you want.
As always, feel free to post questions and comments and I will gladly help wherever I can.
Until next time,
Grace to you,
Margie


